Documentation Home > Exchange Connector
 FAQ: Configuring Exchange 2019, 2016 or 2013 to Send Outbound Email through another SMTP Server
Send Connectors allow Exchange Server to route all outbound email through another SMTP server. This can be desirable in certain configurations or environments. For an explanation of these situations, please see Configuring Exchange Server to Send Outbound Email when Exchange Connector is used to Retrieve Email.
To configure a send connector:
-
Open the Exchange Admin Center and navigate to Mail Flow on the left, then select Send Connectors at the top.
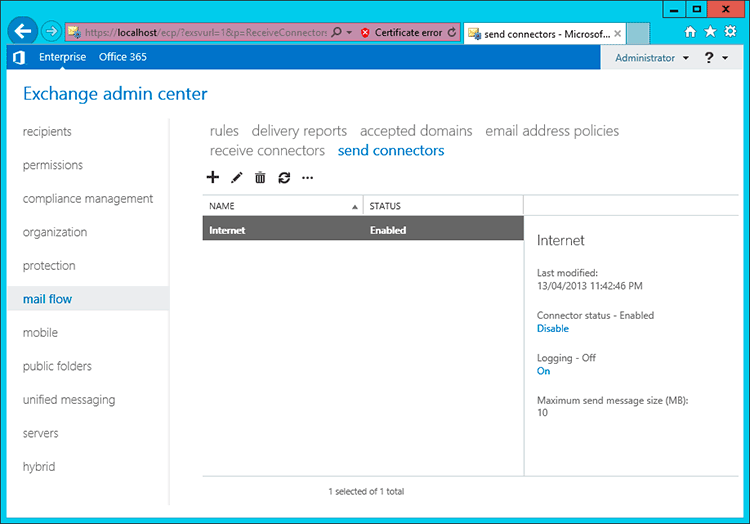
- Click the Plus button to create a new Send Connector.
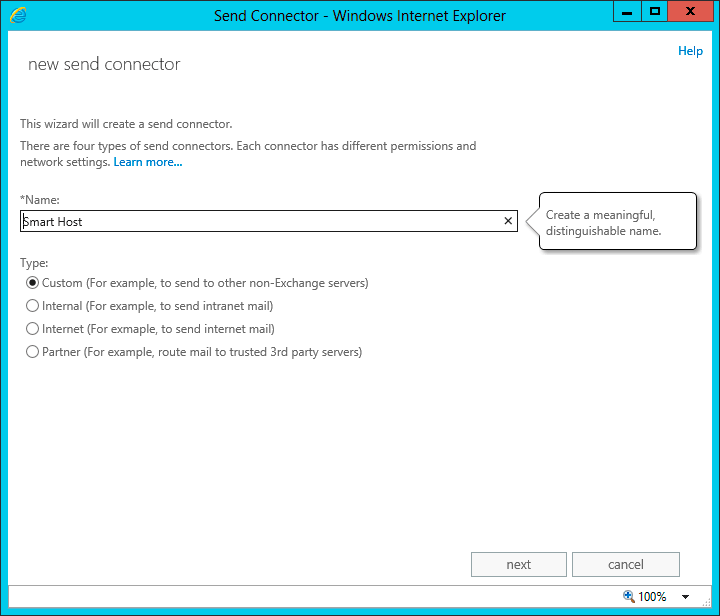
- Type a name for the connector, and select Custom under Type. Click Next.
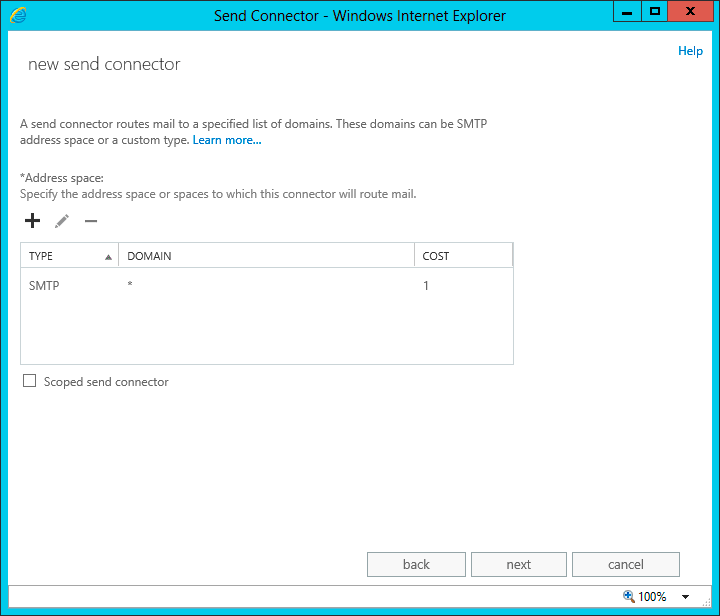
- On the Address Space page, click the plus icon to Add a new domain. Type * as the domain and check Include all subdomains. Click Next.
- On the Network settings page, select Route mail through smart hosts.
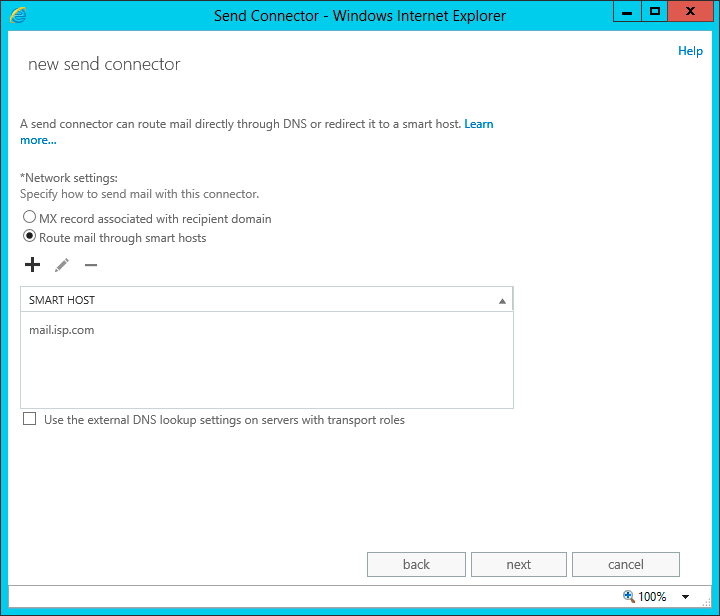
- Click the plus icon to add a new smart host and enter either the IP address or name of your ISP's mail server. Click Next.
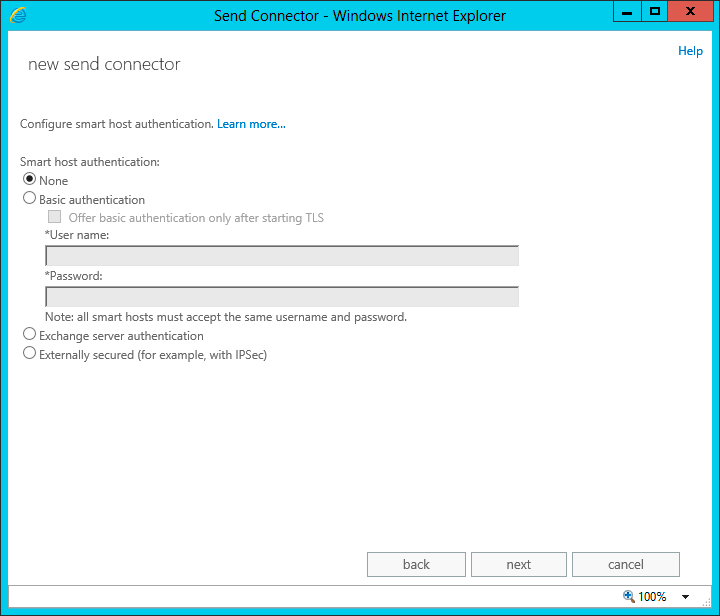
- On the Authentication page, select None, unless your ISP's mail server requires authentication. You will need to select the correct settings depending on your ISP. These would be the same you would configure in Outlook if you were using a non-Exchange configuration – you may need to consult your ISP's documentation.
-
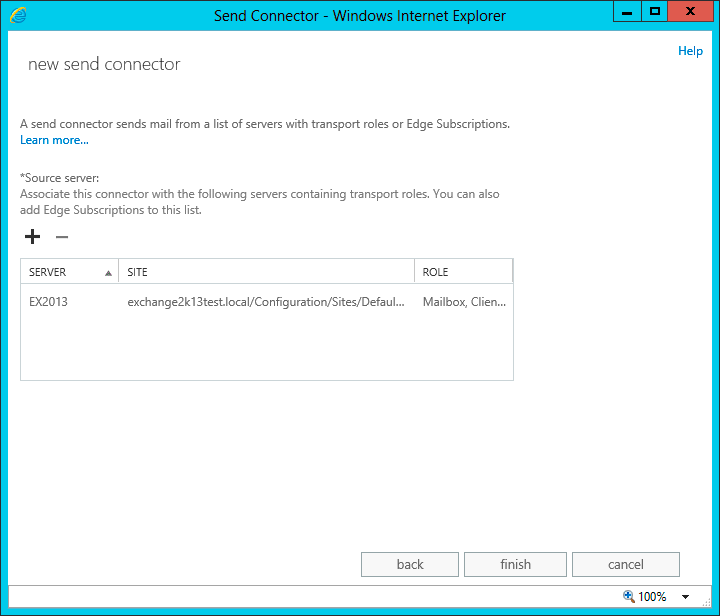
On the Source server page, click the plus icon to add the Exchange server as a source server. Click Finish.