Documentation Home > Exchange Connector
 FAQ: Configuring Exchange 2003 Relay Settings for Exchange Connector
Exchange Connector delivers mail to Exchange Server using the SMTP protocol, and therefore requires relay permissions to the server in order to be able to deliver mail. The SMTP server also needs to have anonymous access enabled (this is the default setting for mail servers and is safe, because only a specific list of computers will be allowed to relay). To configure the authentication and relay settings on the SMTP virtual server for compatibility with Exchange Connector:
- Open the System Manager tool.
- Expand the Exchange Server node for the applicable Exchange server, then expand Protocols, SMTP.
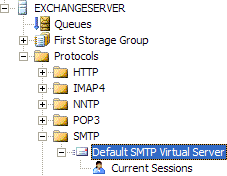
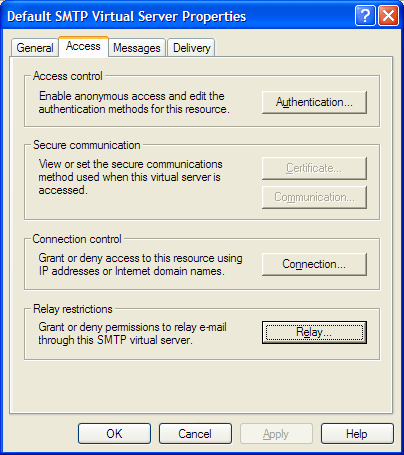
- Right click on SMTP Virtual Server and click Properties.
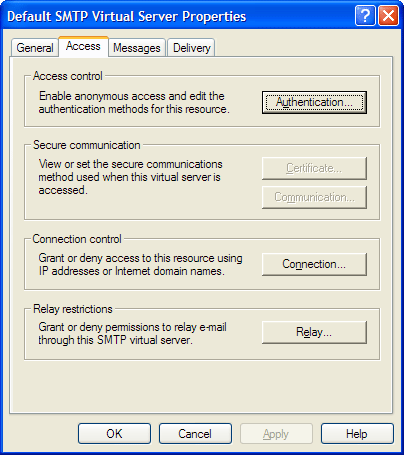
- Select the Access tab and click the Authentication button.
- Make sure that Anonymous Access is checked.
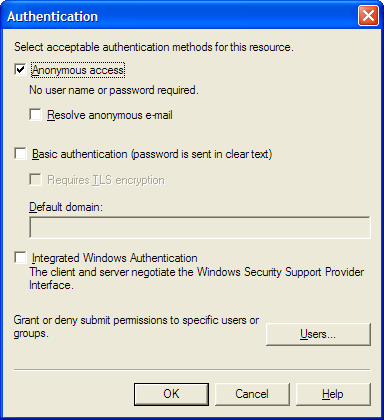
- Click OK.
- In the Default SMTP Virtual Server dialog, click the Relay button.
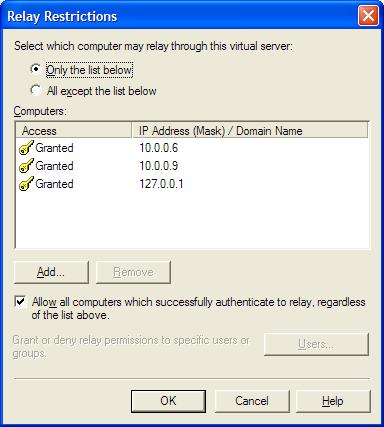
- Make sure the computer which Exchange Connector is running on is allowed to relay. For maximum security, select Only the list below, and add 127.0.0.1, the IP address of the Exchange Server and the IP address of the computer running Exchange Connector (if different) only. It is important to ensure that if the Exchange Server name is specified using a DNS name, that the IP address in this list exactly matches the IP address which the DNS name resolves to.